


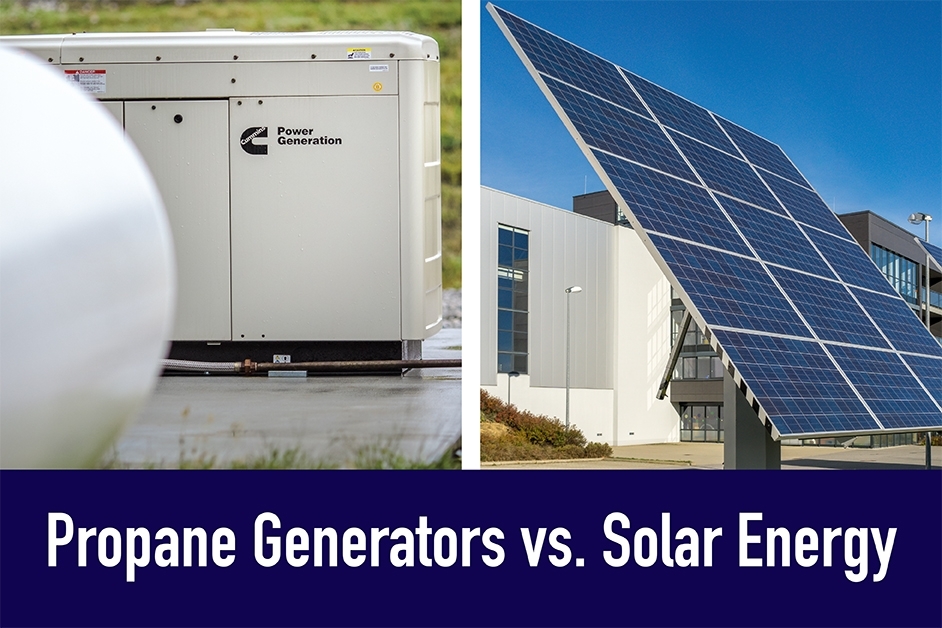
The Ultimate Starter Guide to Portable Solar Energy
페이지 정보

본문
Setting up a portable solar power system is a great way to bring clean, reliable energy wherever you go.
When you’re hiking, road-tripping, or preparing for grid failures a portable solar setup can make a big difference.
No licensing or complex skills are needed to install your own system.
Using just essential gear and straightforward instructions you can build a system that works for your needs.
Start by calculating your energy requirements.
Consider all the electronics you plan to power.
A phone charger might only need 5 to 10 watts.
A compact fan or energy-efficient bulb may draw 10–20 watts.
If you plan to run a mini fridge or a small TV, you’ll need more power—maybe 50 to 100 watts or more.
Create a simple list of your appliances and their power ratings.
Then estimate how many hours you’ll use it each day.
Watt hours = watts × hours used daily.
This figure determines your minimum battery capacity.
Select the right solar panel for your needs.
portable solar power station panels come in sizes from 20 watts to over 200 watts.
If you’re only powering small gadgets, 50–100W is ideal.
Look for panels that fold or roll up for easy transport.
Ensure the panel includes a controller, or purchase one as a standalone unit.
A charge controller prevents damage from voltage spikes and ensures safe charging.
Now pick a battery.
Most portable systems use lithium ion or lithium iron phosphate batteries.
Because they’re lightweight and last longer than old lead acid types.
A 20 to 50 amp hour battery is a good starting point.
Watt hours = amp hours × voltage (typically 12V).
For example, a 50 amp hour 12 volt battery holds 600 watt hours—that’s enough for several days of light use.
An inverter is required to power AC devices such as laptops, blenders, or phones.
This component changes 12V DC into 120V AC for common household gadgets.
Pick an inverter rated above your peak load, with 20% overhead.
A 300W–500W model is ideal for entry-level users.
Follow the proper connection hierarchy to avoid damage.
Start by linking the solar panel to the charge controller.
Next, attach the controller’s output terminals to the battery.
Finally, connect the inverter to the battery.
Refer to the owner’s manual for each component.
Position the panel where it gets full sun exposure to begin charging.
Most systems have LED lights or digital displays to show charging status.
Validate your setup works before leaving home.
Power up your gadgets to confirm functionality.
Monitor your charge percentage and don’t let it hit zero.
Automatic shutoff prevents irreversible damage from over-discharge.
But it’s better to recharge when it hits 20 percent.
Maintenance is simple.
Wipe the surface regularly with a soft cloth.
Avoid storing batteries in hot garages or damp basements.
Inspect terminals and cables for wear or oxidation.
Choosing solar means embracing green, noise-free electricity.
No gasoline, no engine, no emissions—just pure sunlight.
Solar power becomes indispensable once you experience its freedom.
Begin with a basic kit and upgrade gradually.
With a little planning, you can take the power of the sun with you anywhere.
- 이전글This Is The Complete Listing Of Professional Conservatory Installer Dos And Don'ts 25.11.02
- 다음글Ταμειακές Μηχανές Βόλος αναφορές σε κινητό 25.11.02
댓글목록
등록된 댓글이 없습니다.